June 21, 2026
Hello My Dear Stamping Friends,
We hope you’re doing well.
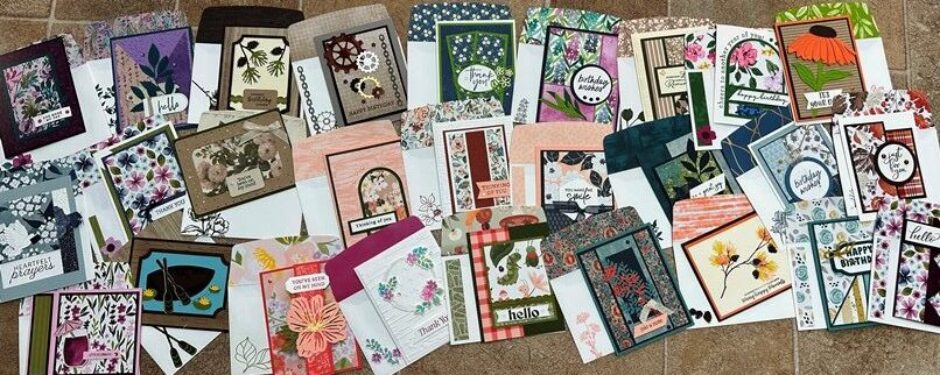
Here are the directions for the June Rewards cards. I hope you enjoy them as much as we have.
We will take the packets to the post office Tuesday—they’re all ready to go.
I’ll send you a packet containing four card kits each month that you place a $50+ order. It’s a win for both of us. Thank you so much.
If you’d like to place an order, please visit www.stampinlady.com and click on Shop Now & Shop Now again.
Let me know if you have any questions or if I can help in any way. Call or text 303-888-1862.
Many hugs to each of you, Pat
Phrases & Frames Bundle


Original by Susan Campfield
This card is exactly the way it looks on the outside. The frame piece (made from the Shimmer Stripes) goes on the inside.
Score the white piece at 4 ¼.
Supplies used include:
Phrases & Frames bundle, 37 & 50
Banner Sayings stamp set, 49
Secret Sea card stock, 81
5 ½ x 4 ¼
4 x 2 ¾
3 x 3/4
Basic White card stock, 82
Folded card 3 x 8 ½; score at 4 1/4
Greeting strip3 x 1/2
Shimmer Stripes, OL 168197, $10.50, available July 1
Violet Dreams designer paper, OL 168186, $17
Side strips – 1 x 4, 2 each
Flap 6 x 2 3/8
Card front3 ¾ x 2 1/2
Secret Sea pad, 81
Fresh Freesia pad (on the envelope), 80
Adhesive Backed Blooms, OL 168198, $8.50
Green glue, 73
Valley in Bloom Designer Paper Card

Original by Jake Xeres Fussell
This card is exactly as it looks. There are dimensionals under the greeting piece.
Supplies used include:
Exciting Times bundle, 42 & 45
Words & Wishes bundle, 41
Nested Essentials dies, 60
Coastal Cabana card stock, 80
8 ½ x 5 ½
4 x 2
Basic White card stock, 82
5 ¼ x 4
4 x 2 ¾
Valley in Bloom designer paper, 22 & 64
Plaid 3 x 3, cut in half diagonally
Card front 3 ¾ x 2 ½
Flap 6 x 2 3/8
Envelope front 4 x ¾
Inside 4 x ¾
Pretty Peacock pad, 81
Dimensionals, 73
Green glue, 73
Antique Pearls, 72
Sunset Coast Sailboat Card

Original by EMK Creations
The best way to adhere the designer paper and the black die cut pieces is to add a small bead of glue to the back of the black frame (around the circle).
There are no dimensionals on this card.
Supplies used include:
Sunset Coast bundle, 26 & 40
Or suite, 26
Simply Said stamp set (inside greeting)
Basic Black card stock, 82
8 ½ x 5 ½
4 ¼ s 3 ¼
Basic White card stock, 82
5 ¼ x 4
Scenic Coast 6 x 6 designer paper, 26-27 & 65
Card front 3 x 3
Flap 6 x 2 3/8
Envelope front 4 x ¾
Inside 5 ¼ x ¾
Base layer (purple) 5 ¼ x 4
Memento pad
Linen Thread, 72
Anchor Trinkets, 72
Silly Old Bear Gold Card


Original by Daphne Powell
We’ve made two samples—one horizontal & one vertical. We did this to match the orientation of the bear die cut.
You may want to use glue to attach the gold foil piece to the card base.
You need to cut 7” off from the full ribbon piece for the wrap around and use the rest for the bow. Attach the bow with glue dots.
Supplies used include:
Silly Old Bear suite, OL 167634, $130
OR Silly Old Bear bundle, OL 167620, $52
And Sweet Words & Labels bundle, OL 167628, $52
Early Espresso card stock, 81
Basic White card stock, 82
Gold Foil, 67
Silly Old Bear designer paper, OL 167616, $13
Hydrangea Hue ribbon, 72
Or Peaceful Pine ribbon, 72


